Branches
Last updated on 2026-04-28 | Edit this page
Estimated time: 15 minutes
Overview
Questions
- What do I do when I want to try something a little different?
Objectives
- Explain why you might want to use a branch.
- Create a branch.
- Merge a branch.
There are times when we might need to make changes to resolve a problem or to experiment with a new method. But, we do not want to do this in our main code base as we may introduce unexpected problems.
To do this safely, we can create branches. When we create a branch we are effectively creating a sandbox where we can experiment and make changes without impacting our main files.
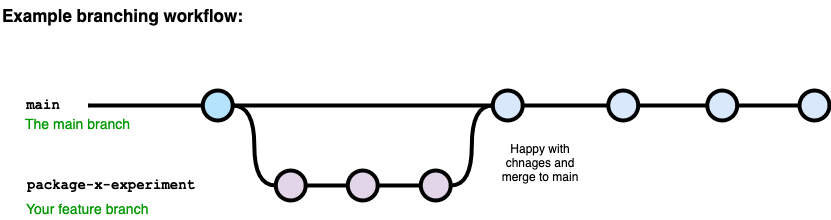
When we talk about branches, we are referring to independent lines of code that branch off the master branch, allowing developers to work independently before merging their changes back to the code base if desired.
Creating a branch
We want to restructure our amr-data-dictionary. To explore different options we create a new branch.
On the Git tab in the upper right panel, there is a
branches icon.
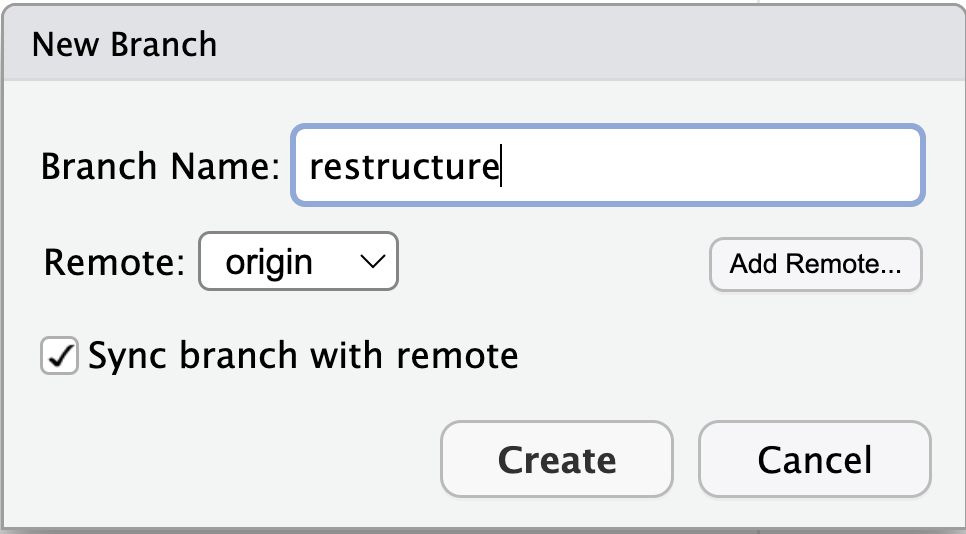
By clicking on this icon we are able to create a new branch, we will
call this branch restructure.
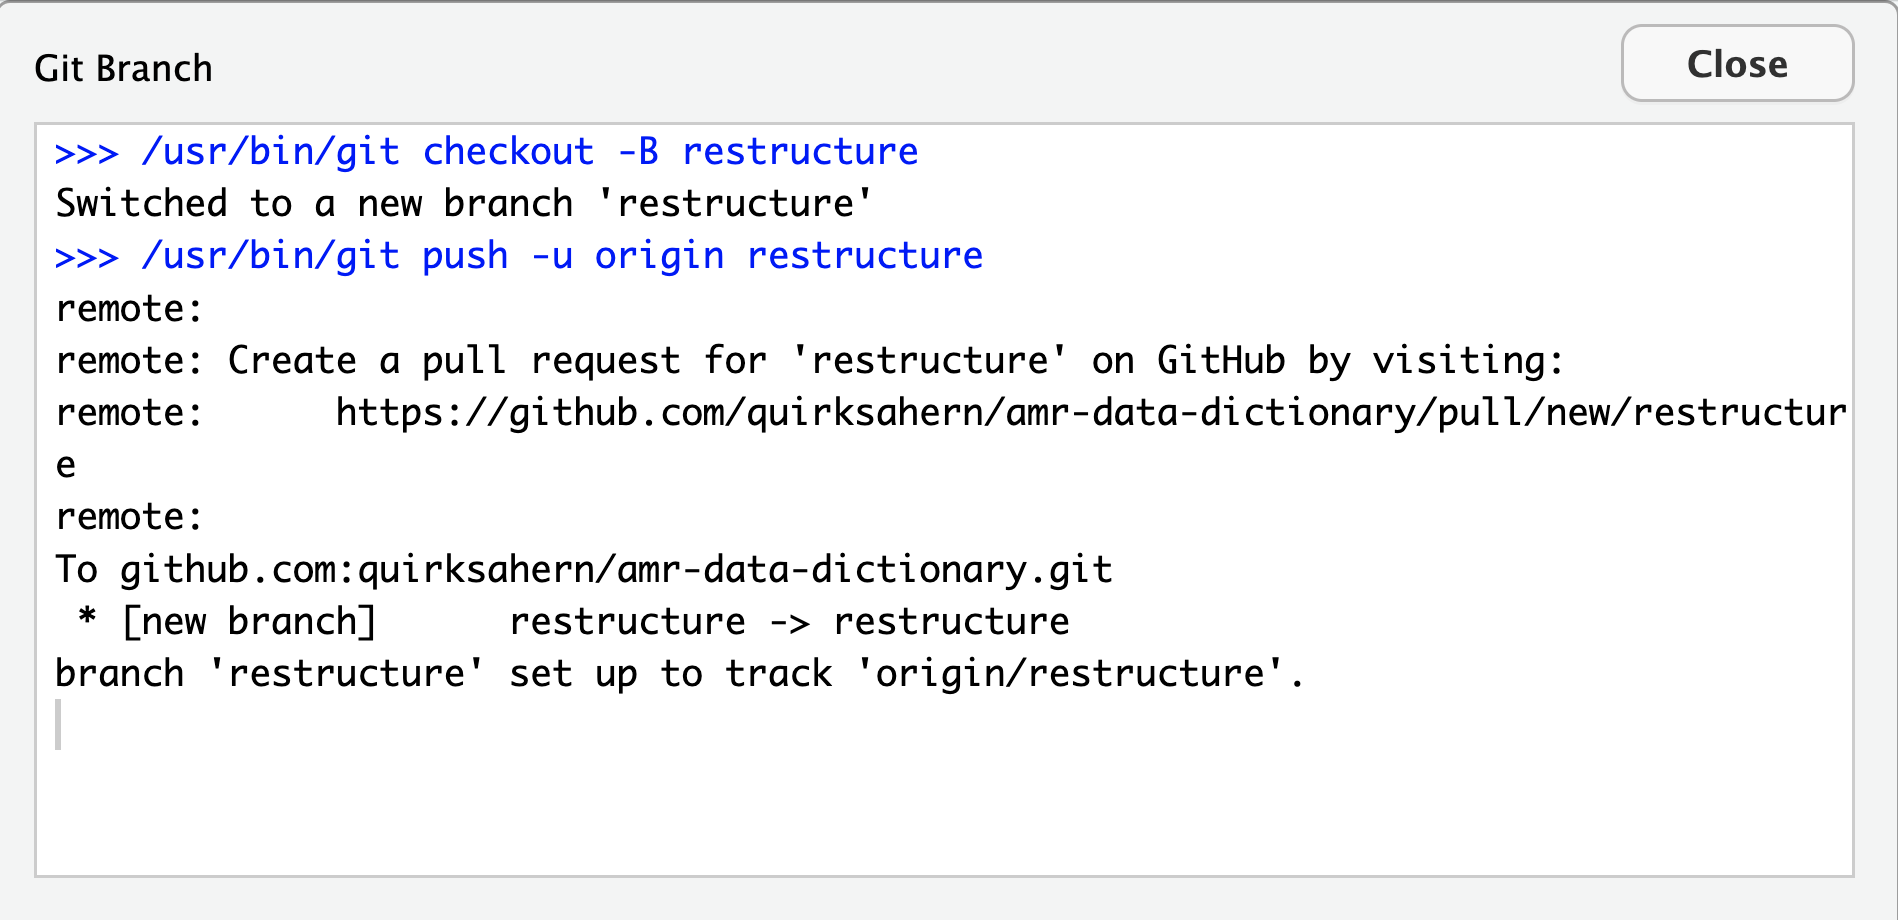
This will create our branch, both locally and on GitHub. We will now
be working in the restructure branch locally.
We can work on this new branch in the same way that we previously
worked on our main branch.
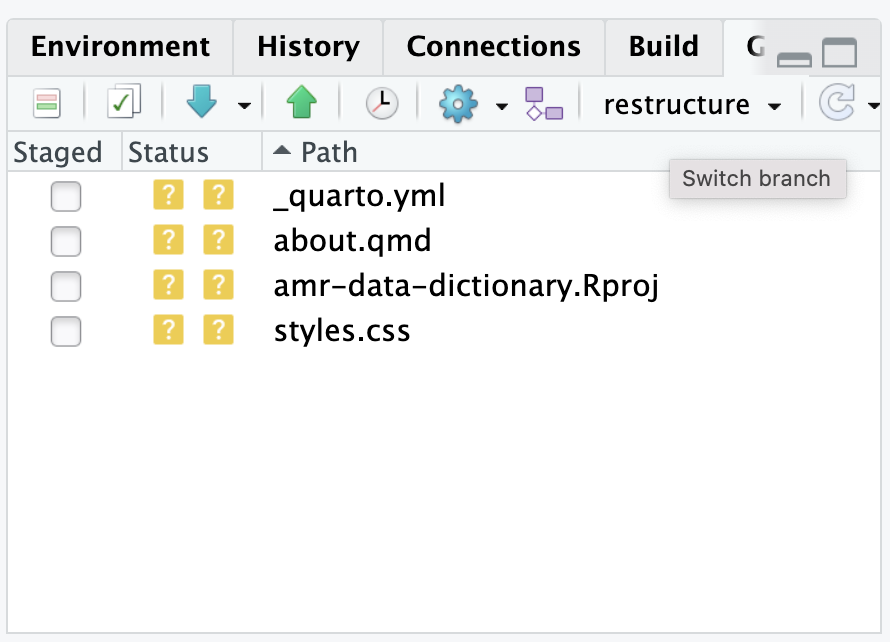
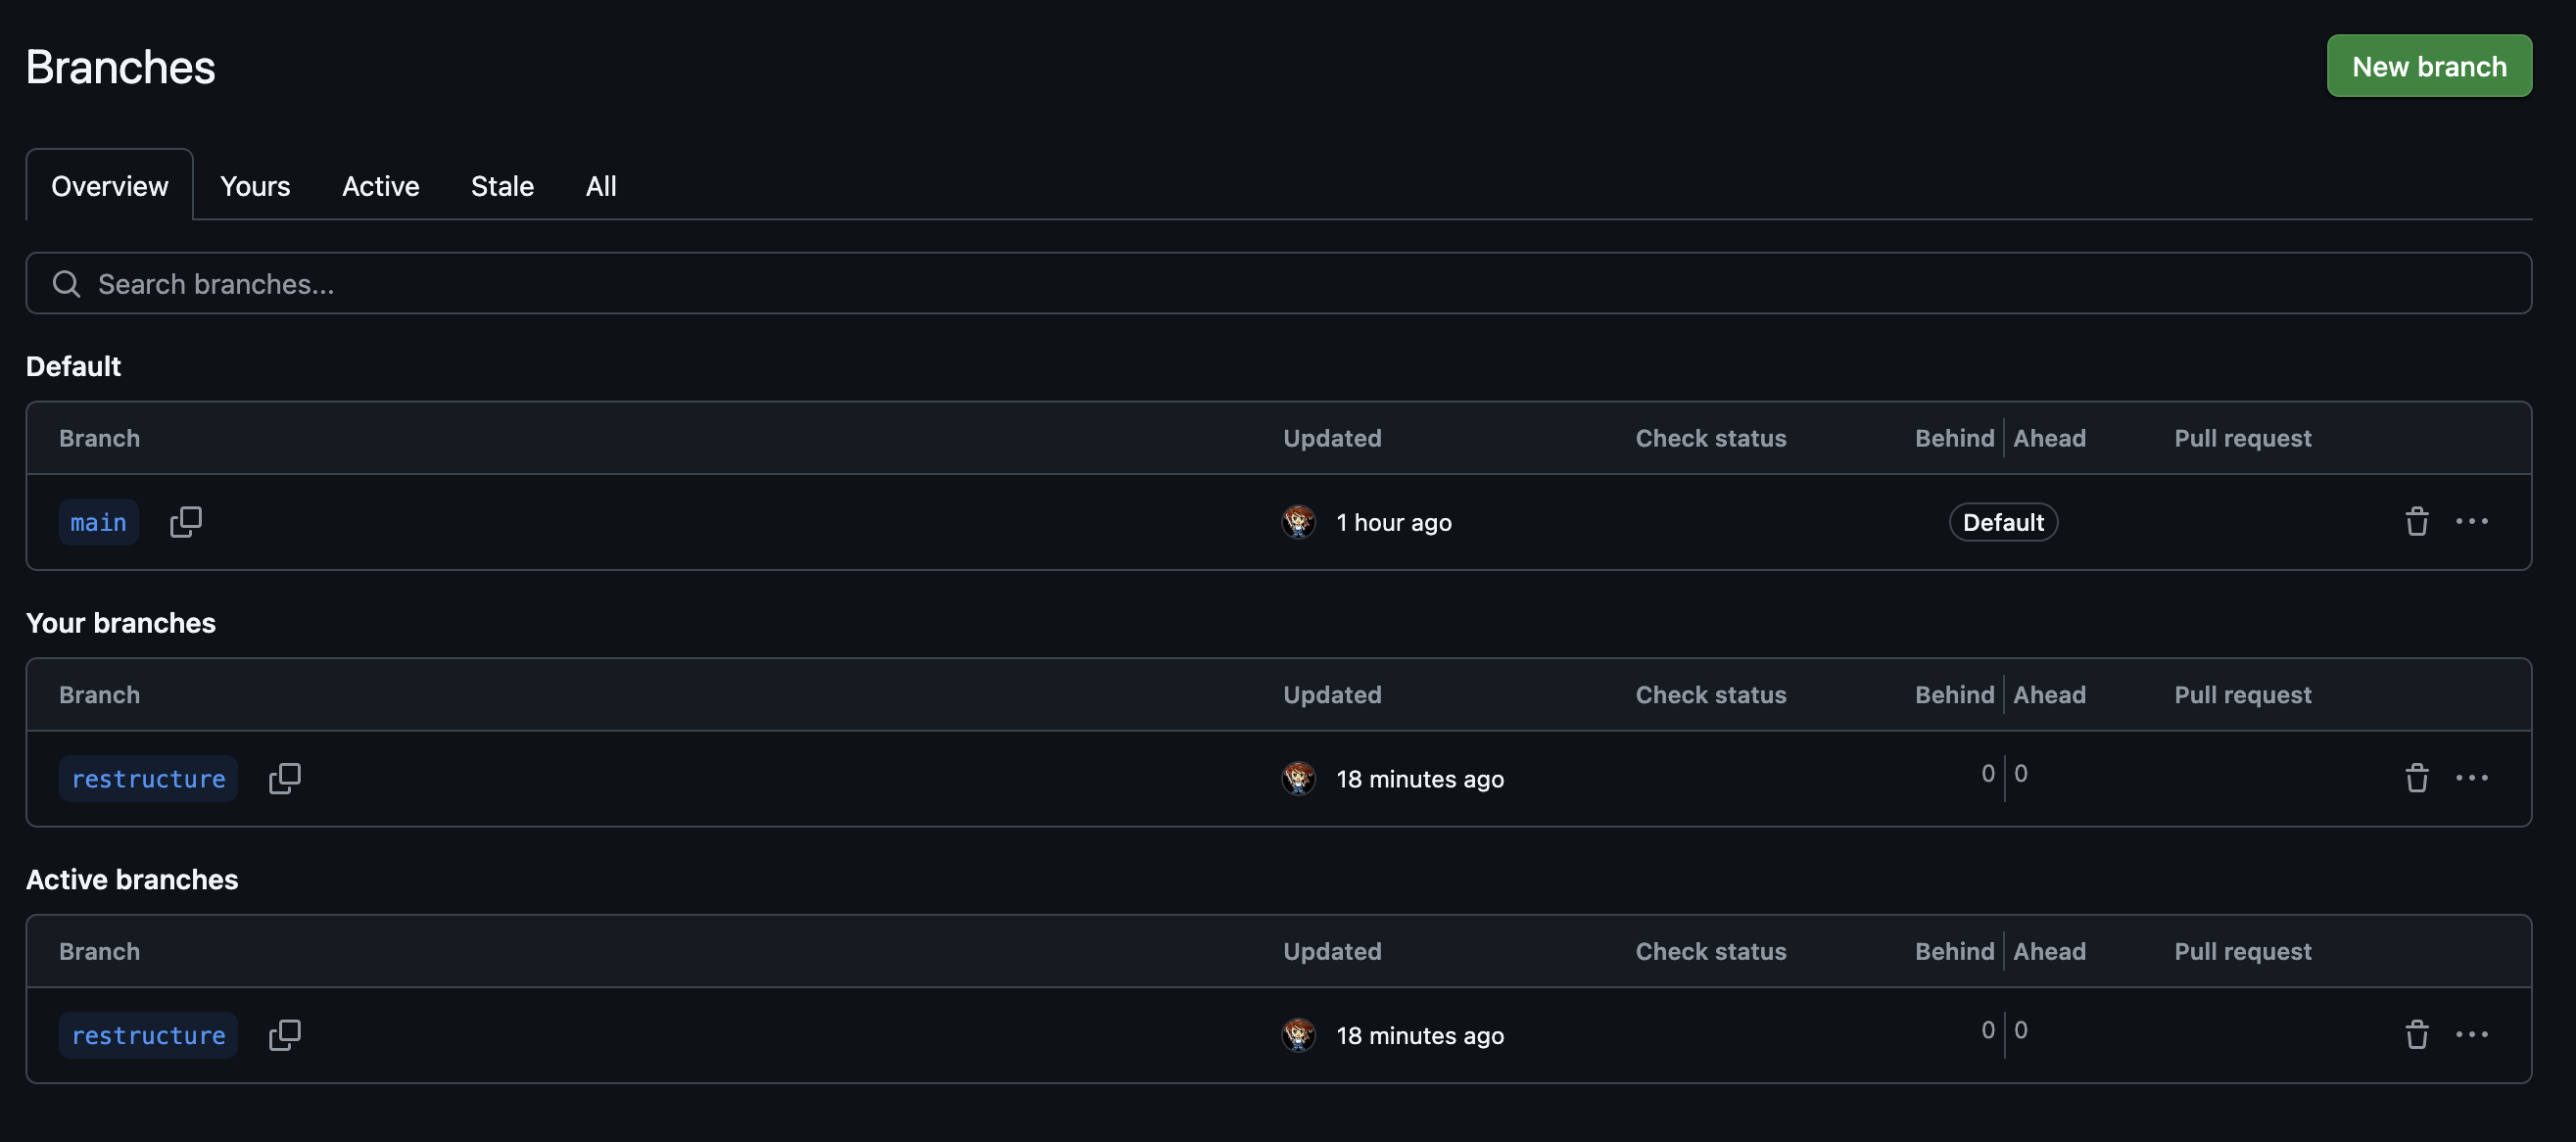
What is our active branch?
We now have two branches in our repository main and
restructure. Within RStudio our current active branch,
where we are currently working and recording changes is the
restructure branch.
When we look at our remote repository, will usually initally be shown
the content and activity of our main branch. However, if we
click on the branches icon, it will show us information about the branch
or brnaches that we have and what is the active branch. When we
pull or push from within RStudio it will be
from or two the active branch.
Working in a branch
Make changes a local change to your index.qmd file.
Commit your change and push to GitHub.
Make some changes to your index.qmd file on GitHub, checking that you are working in the ‘restructure’ branch.
Commit your change and pull to RStudio.
When we have finished working in a branch other than
main, we generally have two choices.
We either have changes we want to add into main, or we
want to delete the branch. When we delete a branch, we are also
effectively deleting all the edits that we have made to the files within
that branch.
Pull Requests
We have made to changes to our amr-data-dictionary that we would now
like to be the main version. The mechanism that Git and
GitHub provide to bring changes from other branches into
main are Pull Requests.
Pull Requests enable collaborators to review and discuss
the proposed set of changes before they are added into the main
codebase.
We will create our Pull Request in GitHub, but before we do so, let’s make sure that we have pushed all our committed changes to our remote repository.
Creating a Pull Request
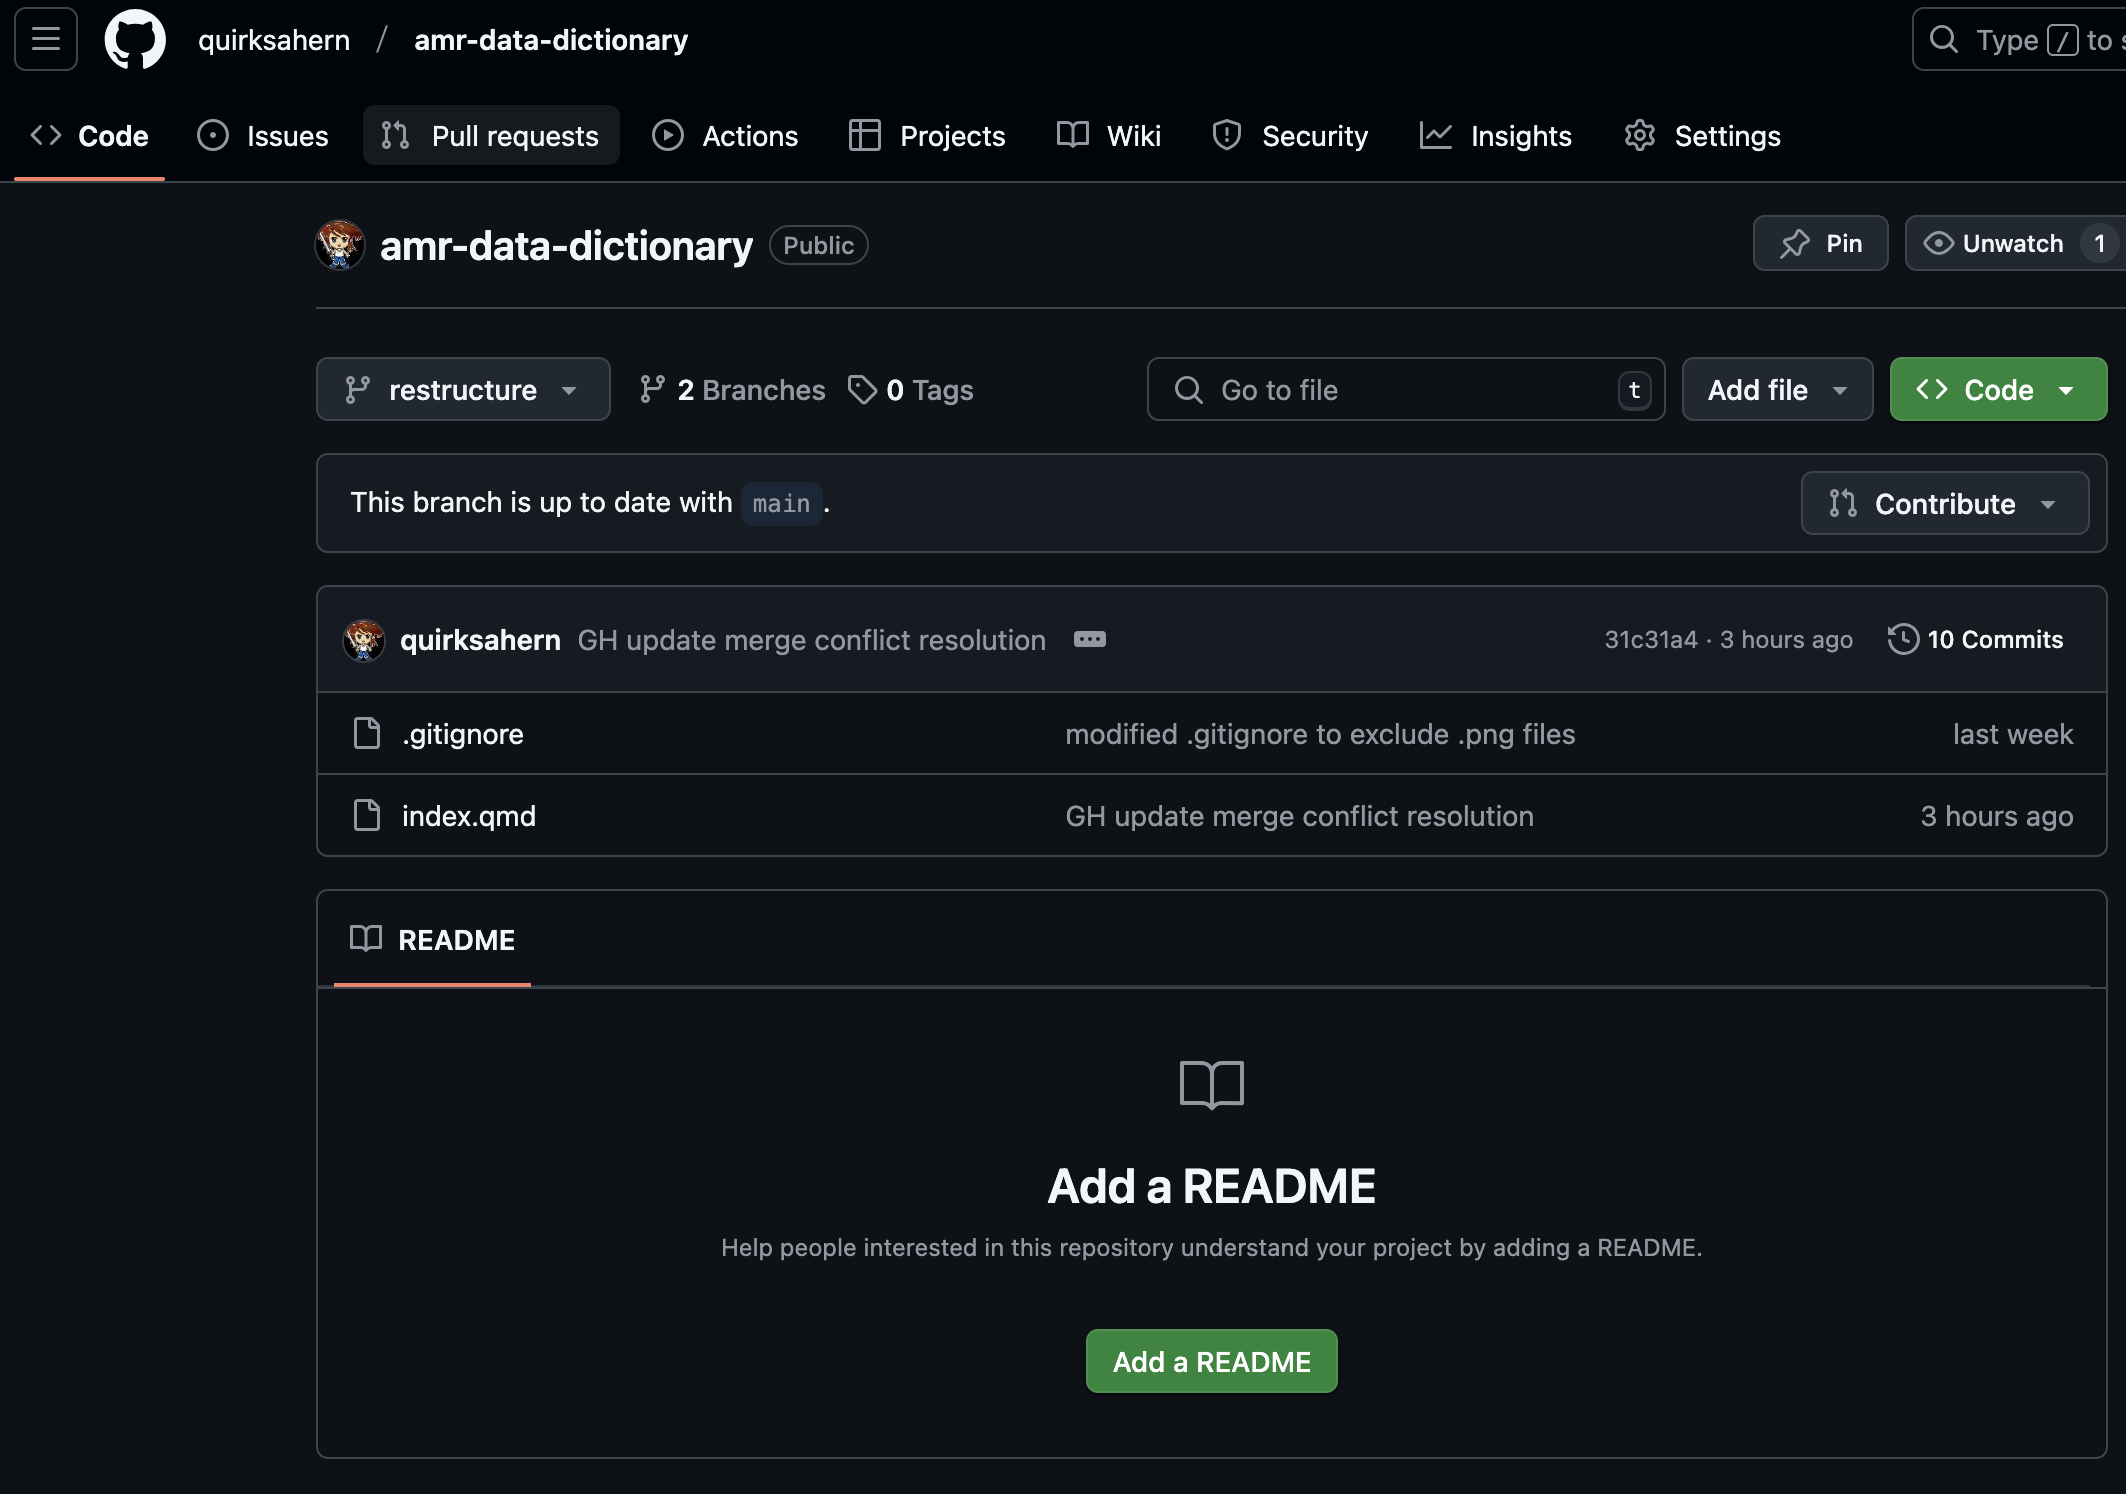
We can see that there are updates to the file index.qmd
and we want this to be added to the version in main. To do
this we need to create a Pull Request, we start by clicking
on Pull request in the GitHub toolbar.
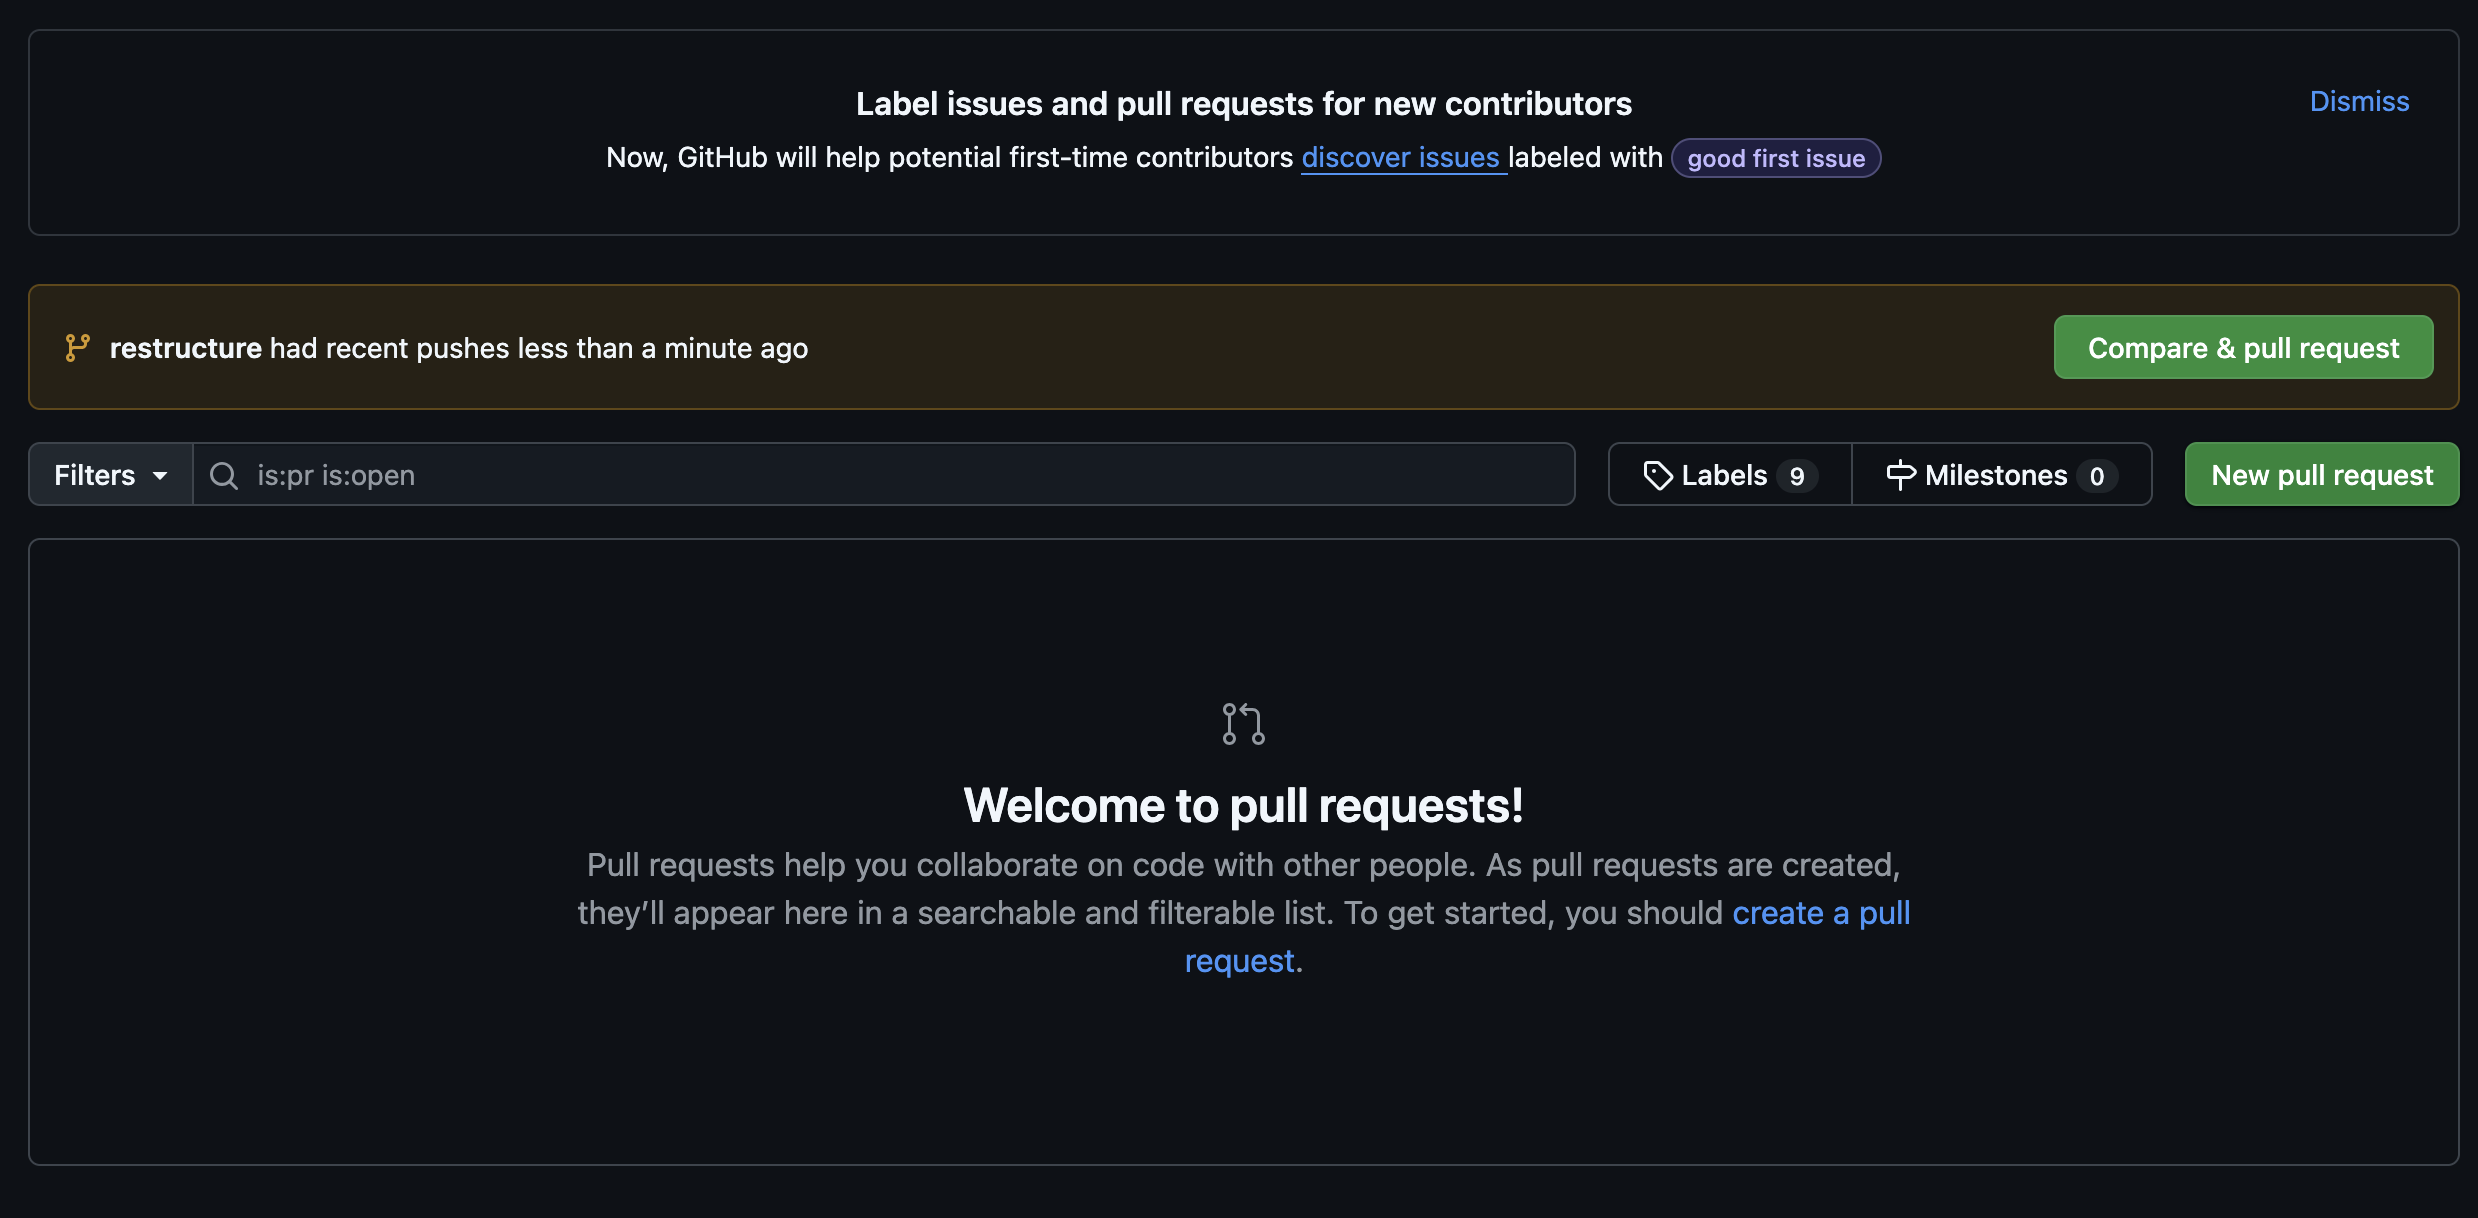
GitHub has identified that there are differences between the files on
the restructure branch and files on the main
branch. We want to Compare and pull request
If we look we can see that restructure is being compared
to main. GitHub hasn’t identified any potential conflicts
and is saying that changes can be automatically merged. It
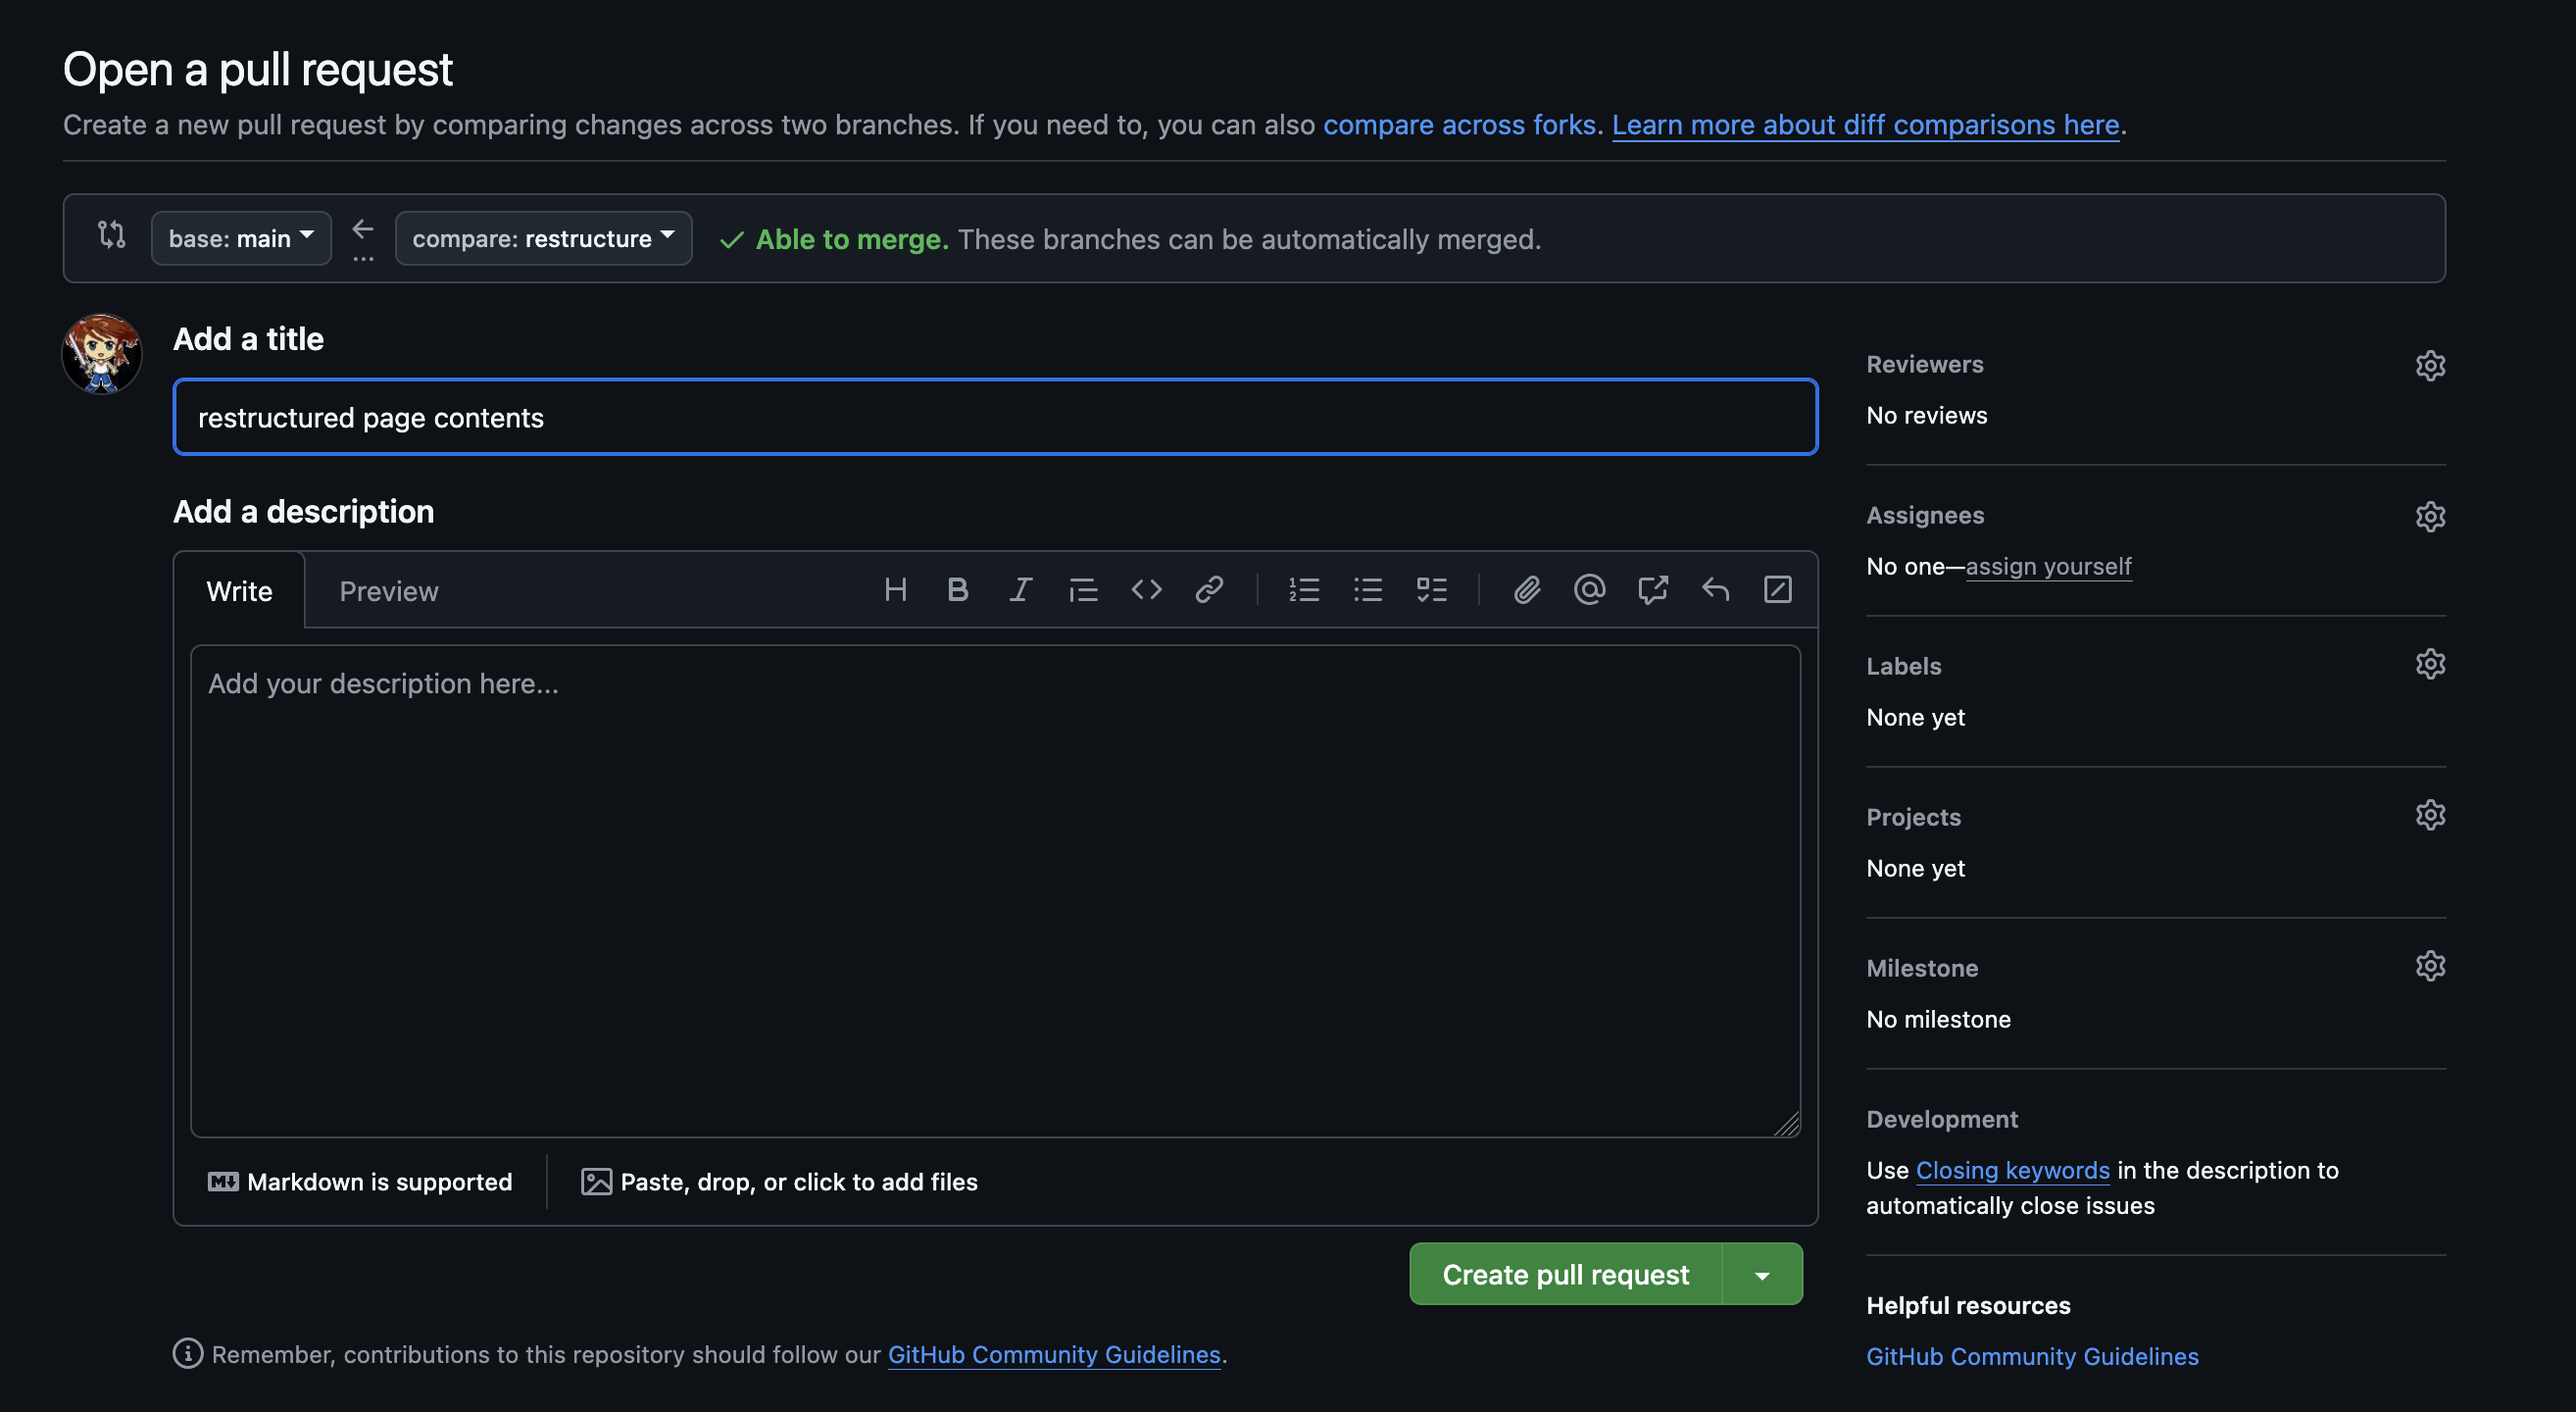
has also helpfully added a title to our pull request.
What do you notice about this title? Is it helpful?
There is also a box to add a description of the changes and their
potential impact. Once a suitable title and description have been added,
click on Create pull request.

As no conflicts have been identified we can opt to
Merge pull request.
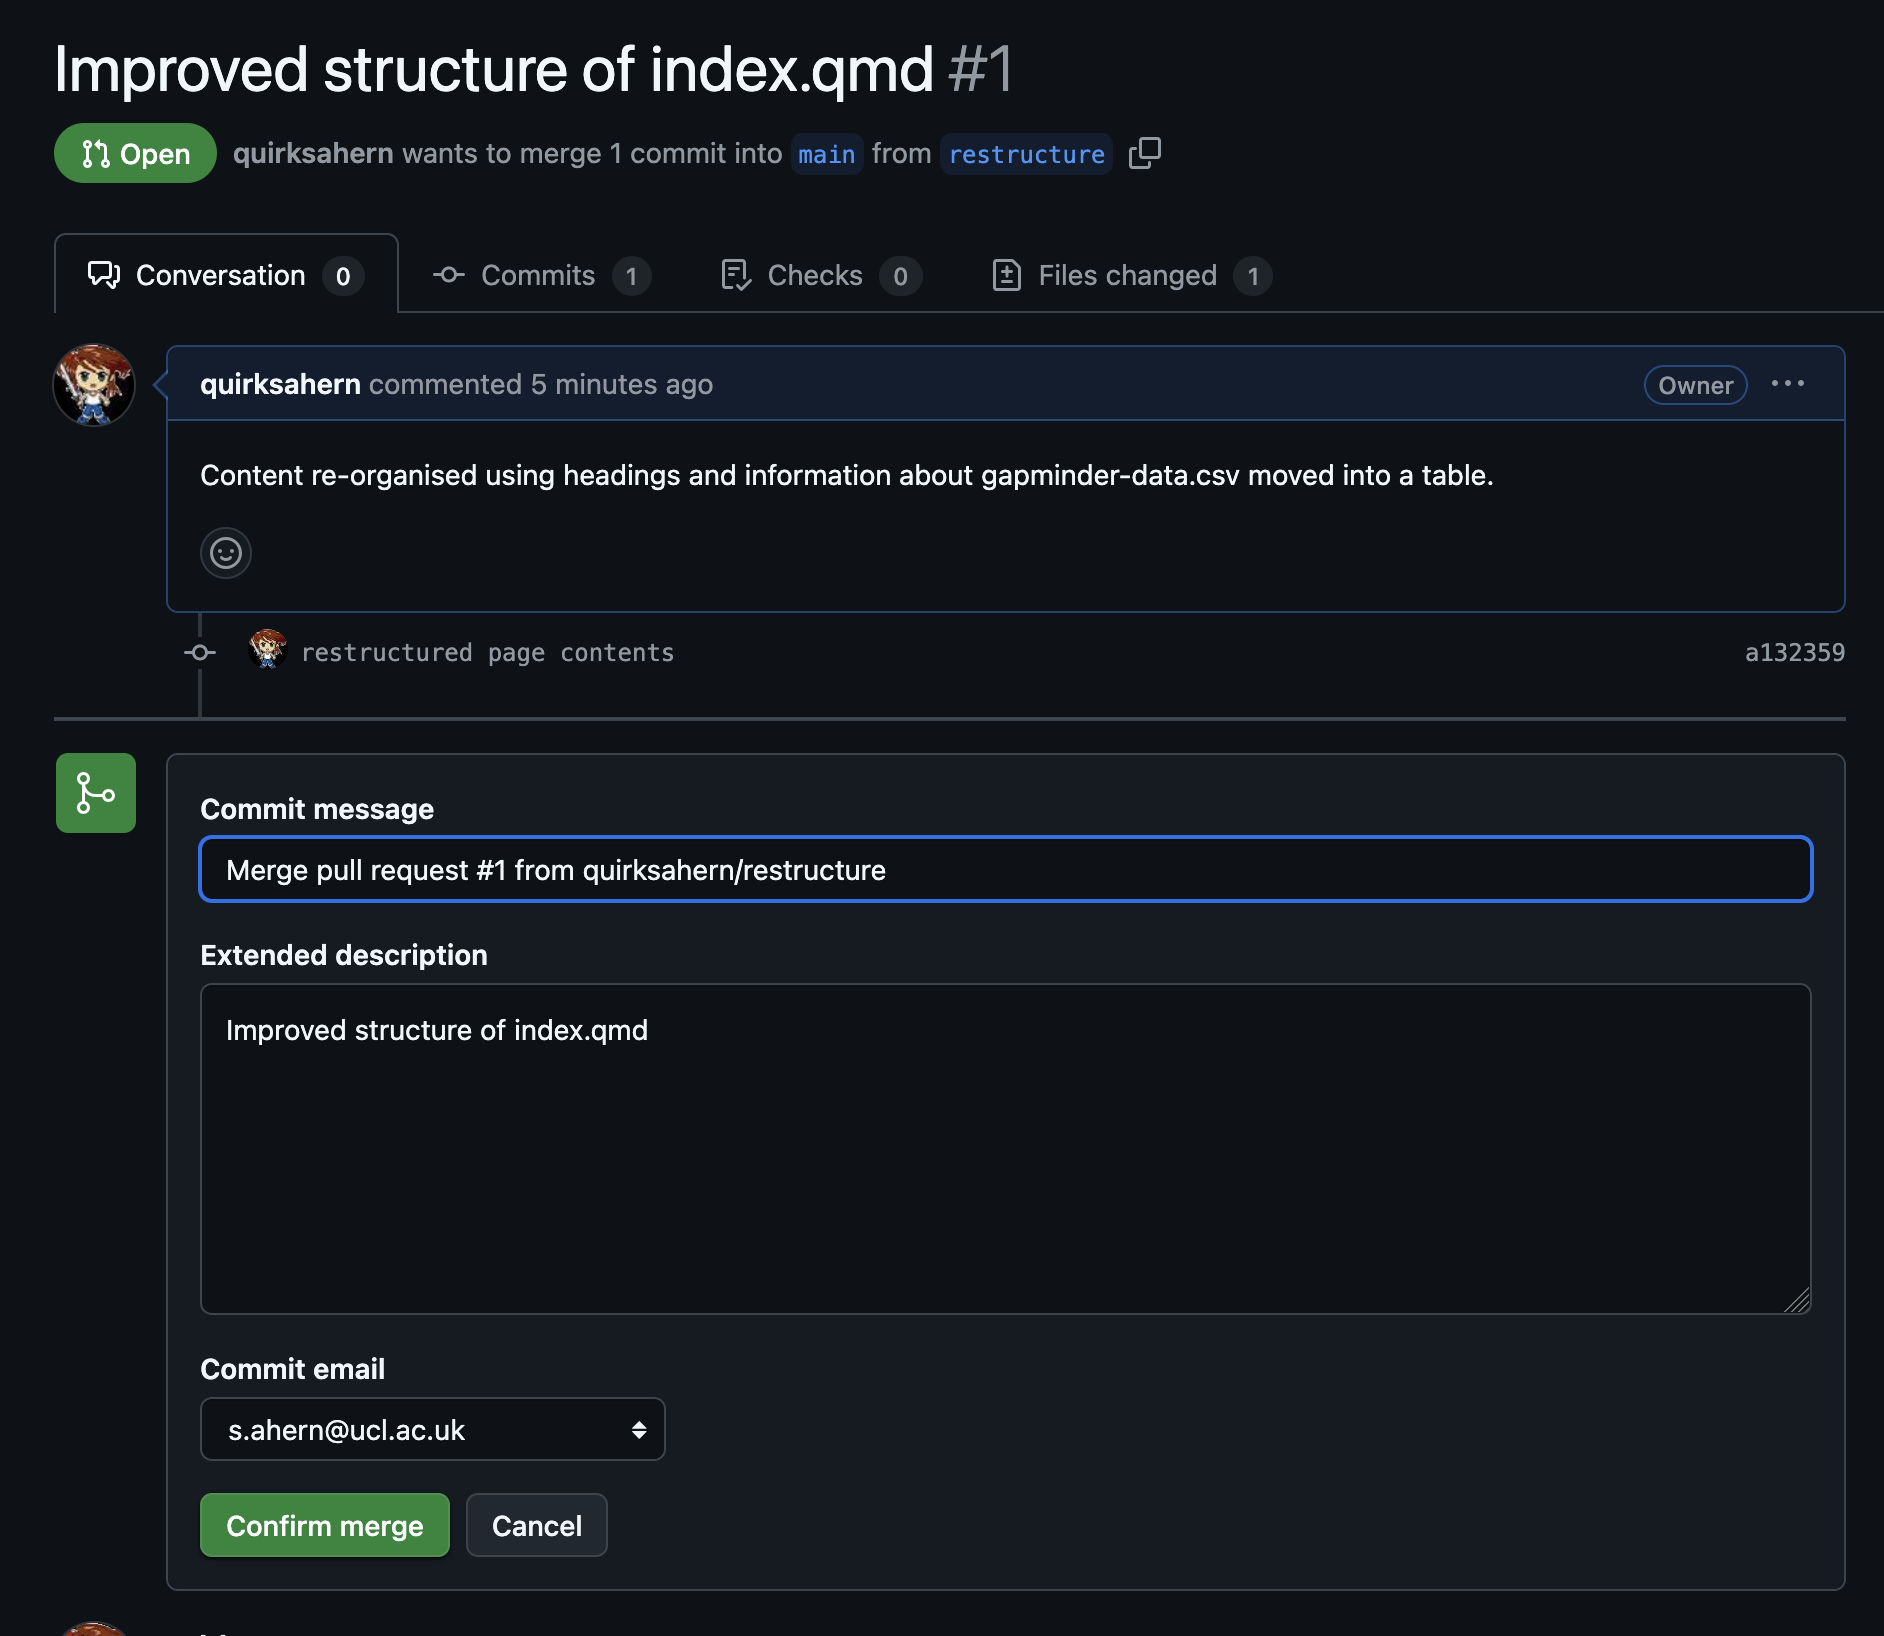
We have the option to add to or edit information about the pull
request before we Confirm merge.
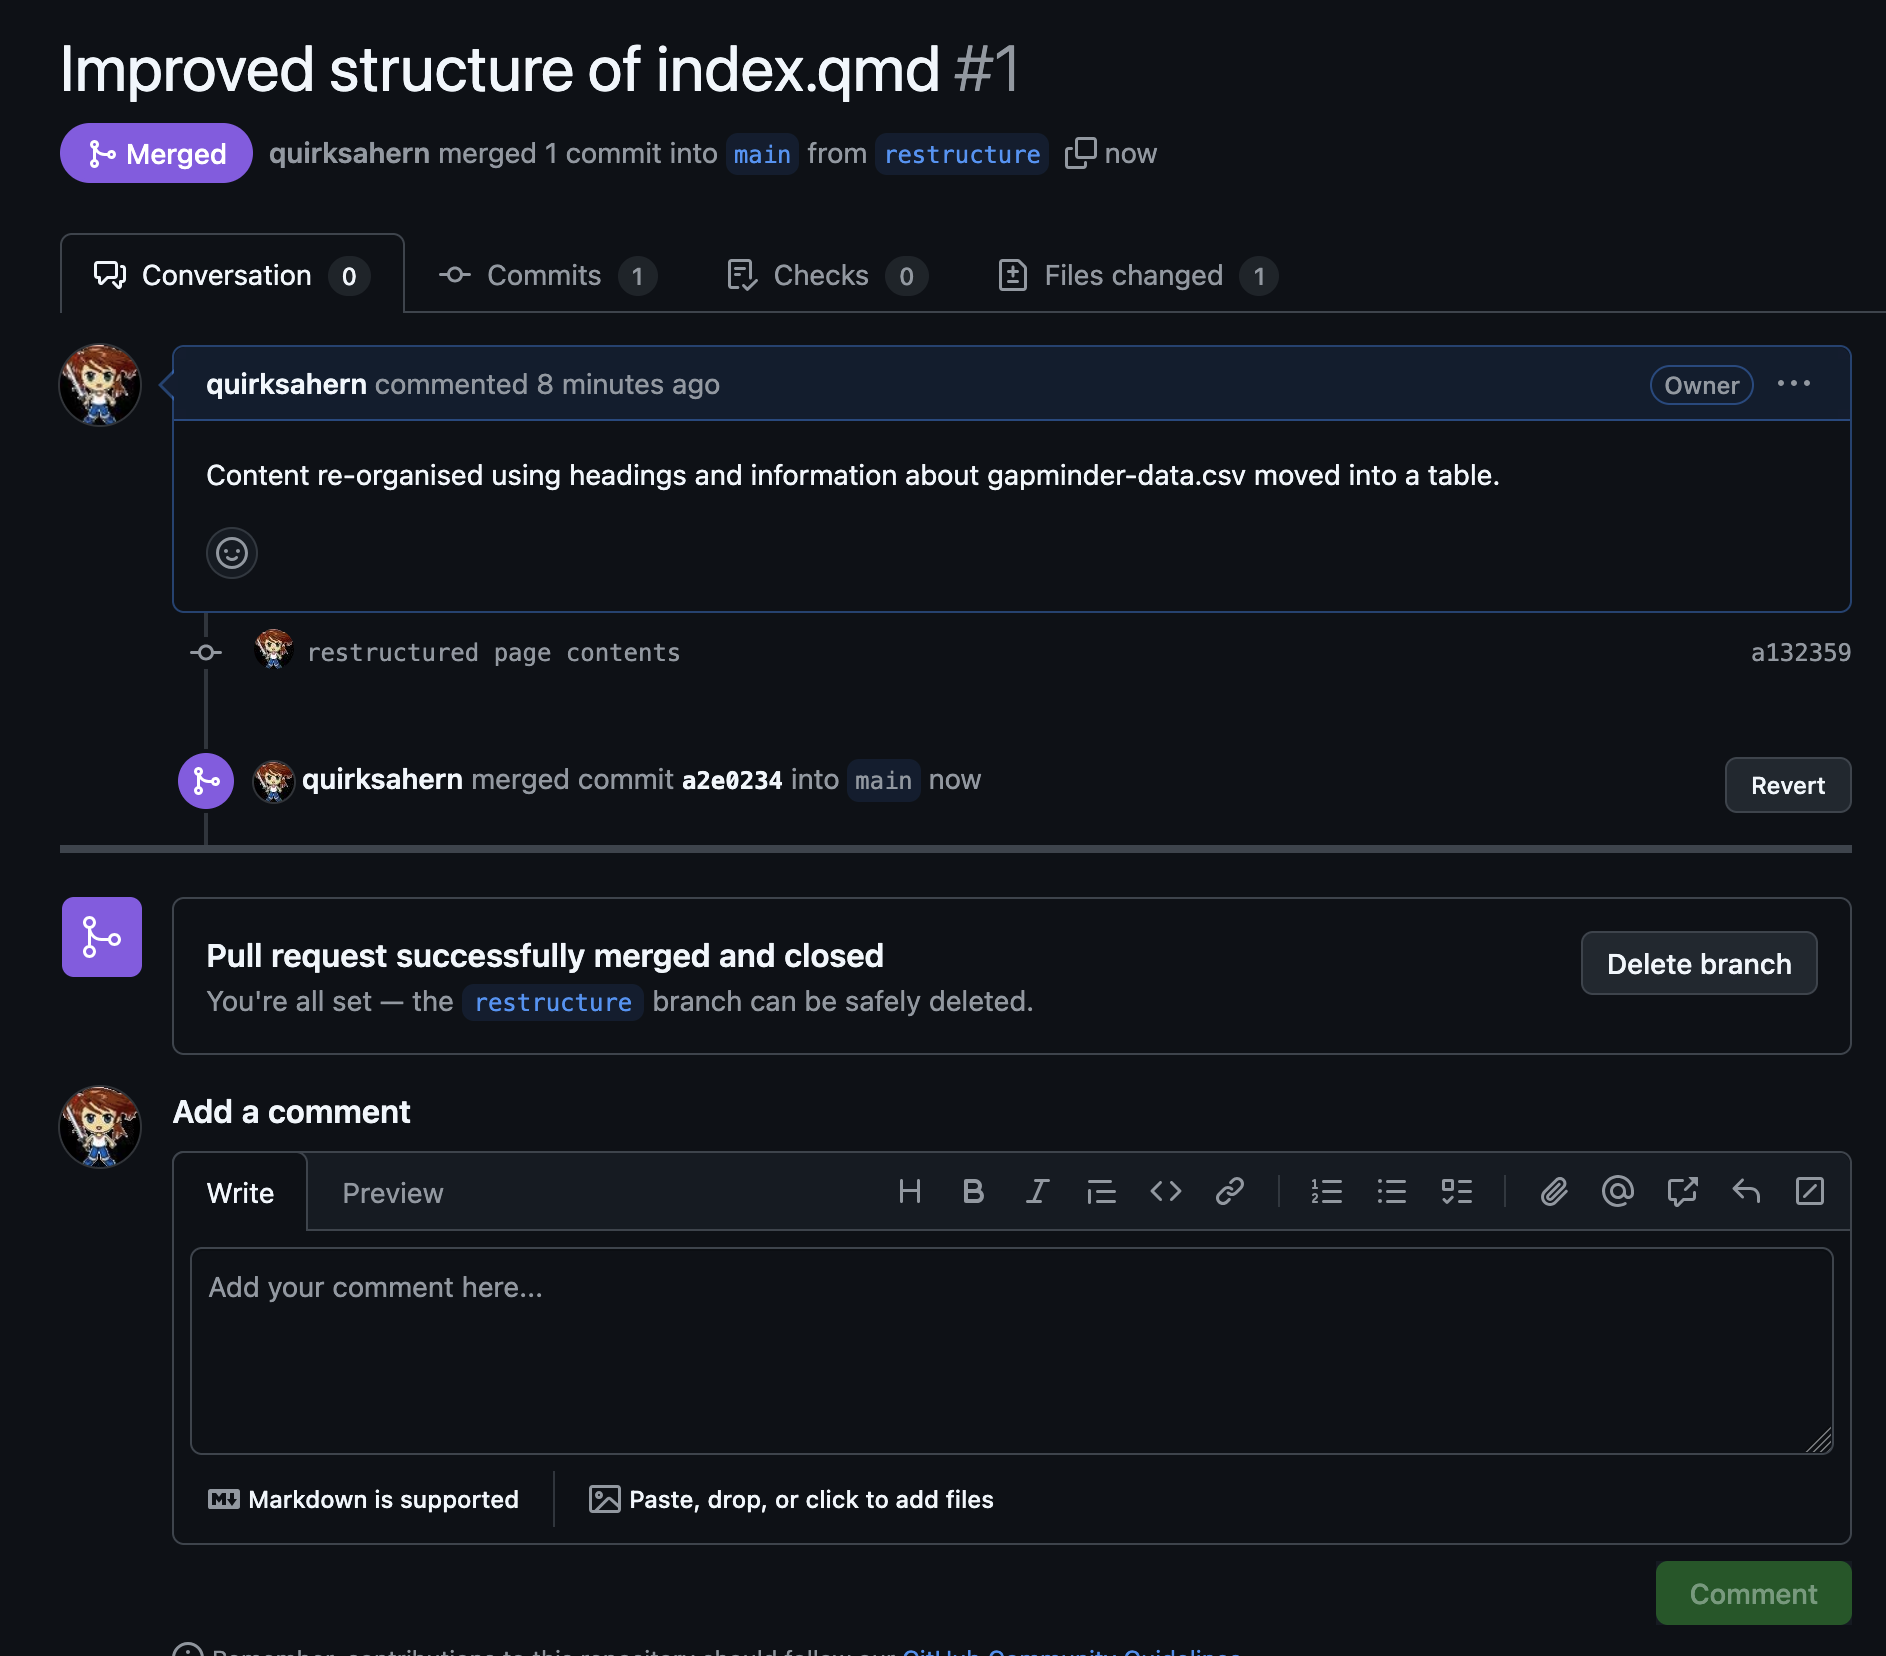
Once we have confirmed, the pull request is closed and changes merged
into main. We could now choose to delete the branch.
In a more complex change, you may request to have a collaborator review the change before the request is approved.
Much more detailed information about branches and pull requests is available via the GitHub documentation: Proposing changes to your work with pull requests
- Branches provide a safe way to experiment with new ideas or explore solutions to bugs and other issues within your files.
- Pull Requests provide the mechanism for bringing changes from other branches make into main with varying levels of oversight.